tiistai 6. syyskuuta 2011
torstai 1. syyskuuta 2011
Finished
New wheel bearing seals:

and hand brake cables installed. I had some issues with brake cables, all I say here that the S2 cables are 150mm longer than older model and the joints in the dust plate side are different...
Drums also installed and brakes bleeded. Exhaust installed. ARB installed.. I can say that axle repair is finally finished! Cheers to that!
I checked the condition of the sills by opening the holes on the rear fender side. Some previous owner had stuffed sound insulation mat inside! I removed it by hook and vacuum cleaned the dirt away. Luckily no rust there at all. Next I'll treat the sills with cavity wax.
lauantai 6. elokuuta 2011
Couple of shots, now the arb and new brake hoses are installed:


Axle is now installed to car. Rusty axle bush spacers (6pcs) were replaced by laser cut stainless steel items, luckily I asked 'benkku' to make double amount of them when I needed them for the S2 repair a year ago. Thank you ones more, 'benkku' (if you read this shit)! I know I owe you "pullakahvit" (=coffee & bun) aswell for the brake shoes...
This kind of holder piece was quite annoying looking:

I put it to electrolysis bath to get rid of rust. I even tried to sinc it (with electrity) but not very good results so I ended spraying sinc paint to it. And Hammerite on top. I would be glad if someone could enlight me with DIY sinc process. Is it even possible without fancy chemicals?
sunnuntai 31. heinäkuuta 2011
Assembling
Beam got new mount bushes (4pcs), genuine pug items. I also bought set of offcentre spacers for the torsion bars. Assembly of the bars was straightforward. I set the dummy shock to 297mm.

Time to press some greese to the bearings

Greese comes out nicely through the outer bearing which has no seal in either side. One has to be very careful pressing greese to the system when antirollbar endplates are installed, too much pressure is guaranteed to pop out the trailing arm outer seal. Anyway, it would be good practice to remove the endplates when adding greese, the color of the outcoming greese will show if there is rust in the bearing space...
A thicker ARB 24mm, from a S2Rallye/GTI was acquired from a scrap yard (via a fellow pug enthuasist) and for some reason both endplates were removed from it. The threads in the ends of the bar needed to be tapped (M8) clear in order to screw the plates to the splines.
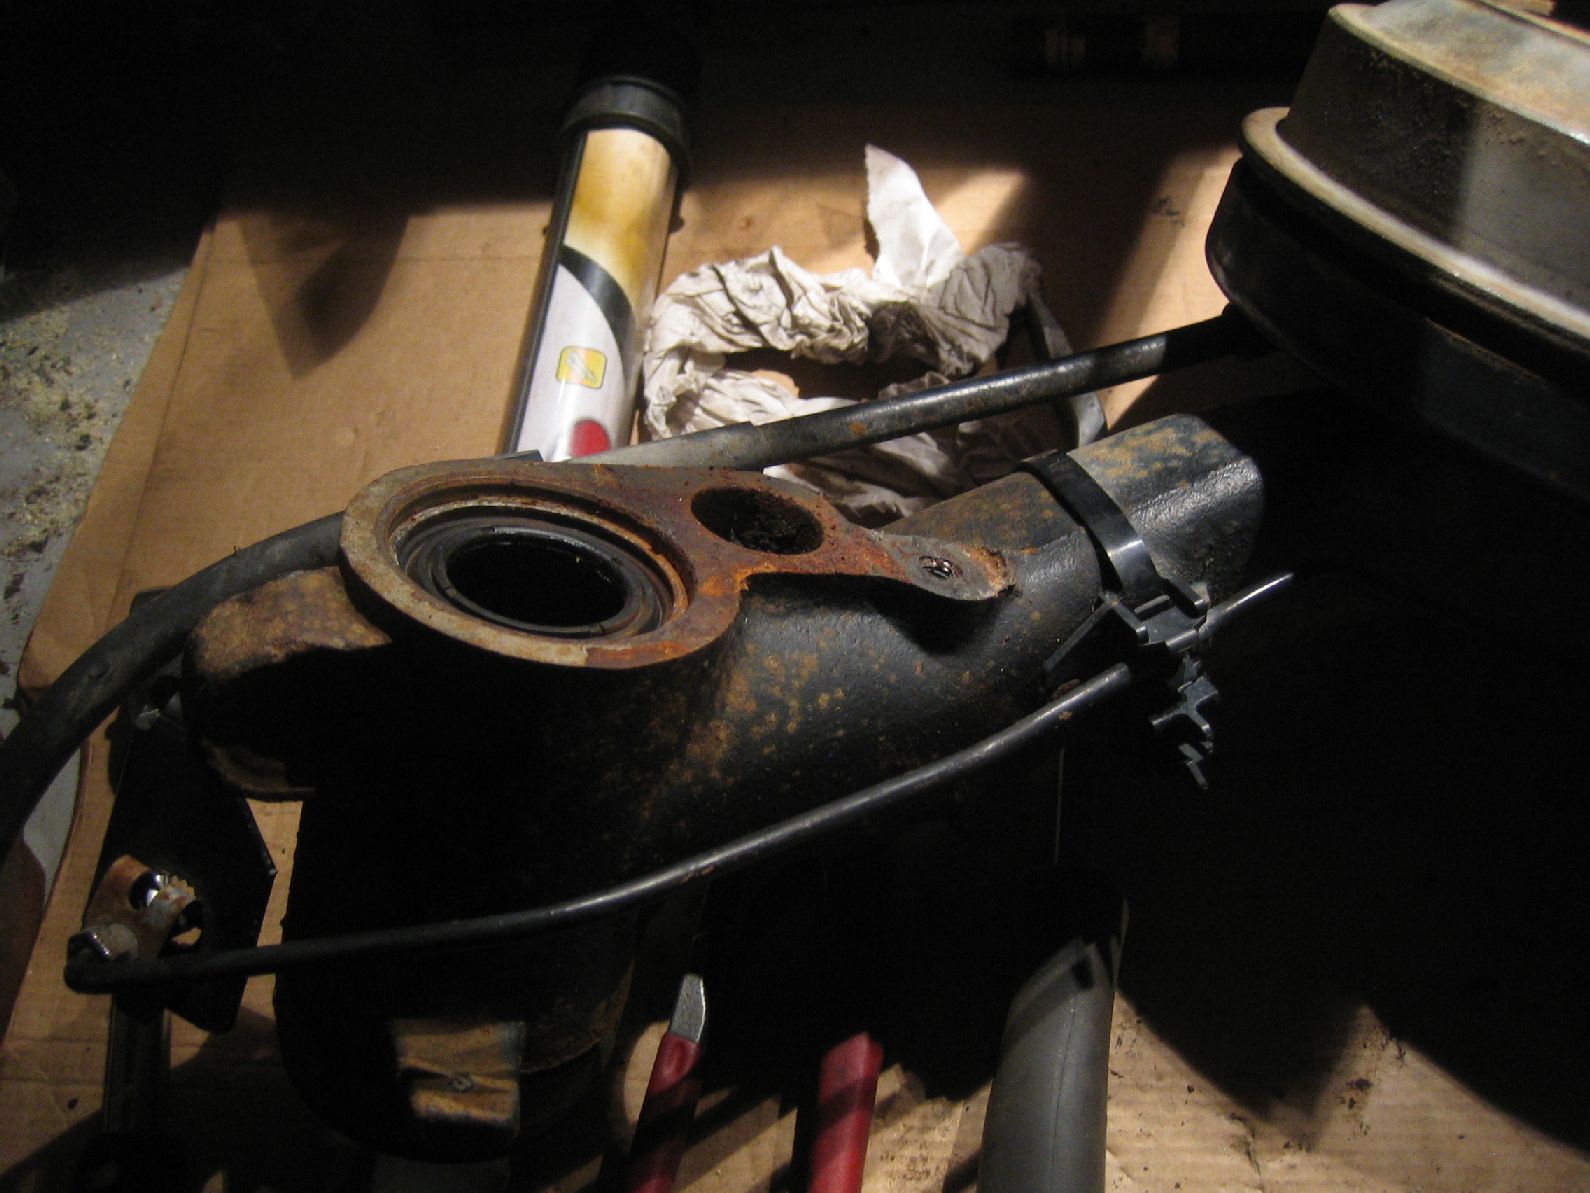
Supports for the brake hoses were screwed in. One cleaned and painted support piece is missing, I thought I may not find it so took a rusty one from the parts bin and put it to electrolysis bath... Hoses must be bought too. After these small things it's time to install the axle to the car.

Time to press some greese to the bearings

Greese comes out nicely through the outer bearing which has no seal in either side. One has to be very careful pressing greese to the system when antirollbar endplates are installed, too much pressure is guaranteed to pop out the trailing arm outer seal. Anyway, it would be good practice to remove the endplates when adding greese, the color of the outcoming greese will show if there is rust in the bearing space...
A thicker ARB 24mm, from a S2Rallye/GTI was acquired from a scrap yard (via a fellow pug enthuasist) and for some reason both endplates were removed from it. The threads in the ends of the bar needed to be tapped (M8) clear in order to screw the plates to the splines.
Supports for the brake hoses were screwed in. One cleaned and painted support piece is missing, I thought I may not find it so took a rusty one from the parts bin and put it to electrolysis bath... Hoses must be bought too. After these small things it's time to install the axle to the car.
lauantai 18. kesäkuuta 2011
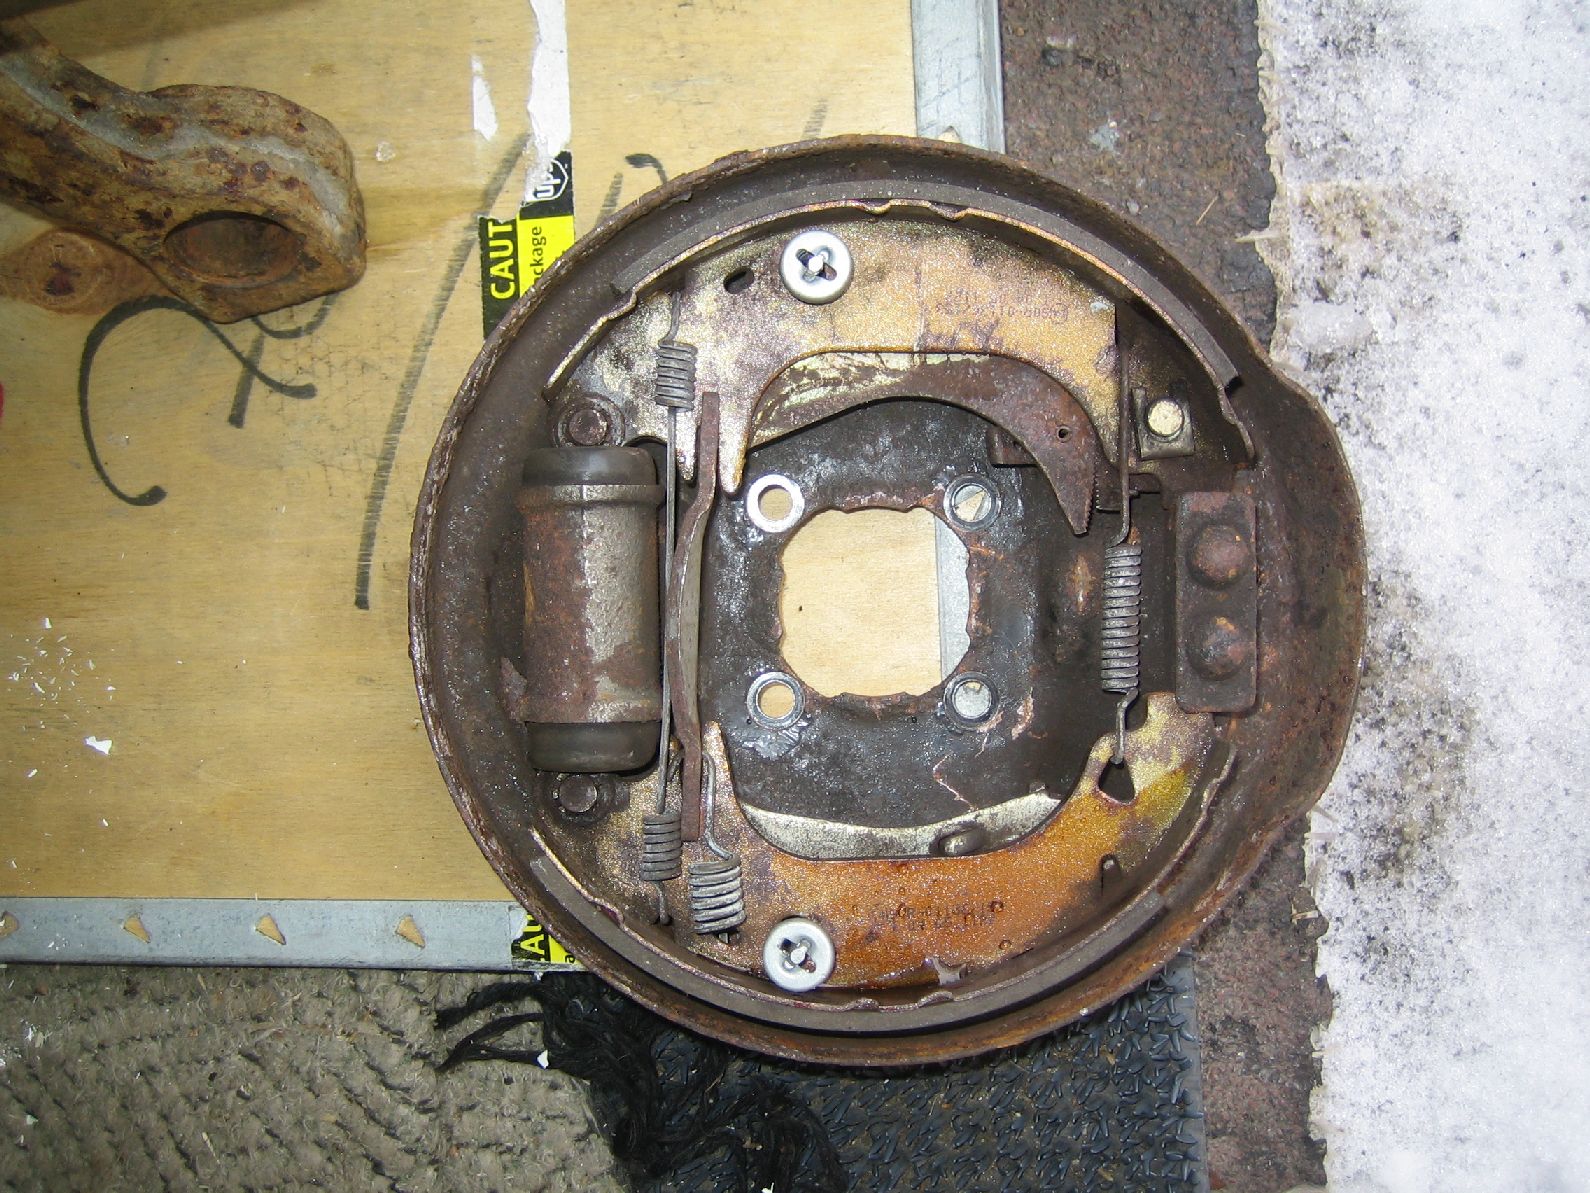
New brakes
Here are pics of new brake shoes and brake cylinder:


The brake cylinder has build-in pressure limiter (so the brakes are not load-sensitive).
Must say that its a joy to assemble parts when they are clean, compare with this one :)


The brake cylinder has build-in pressure limiter (so the brakes are not load-sensitive).
Must say that its a joy to assemble parts when they are clean, compare with this one :)

lauantai 28. toukokuuta 2011
New bearings and seals
Preparing for the grease nipple. Nipple is M6 thread


Best is to drill about 28mm from the end, here the hole is a few millimeters less. Just enough clearance to bearing. One should be careful where to drill (especially if bearing are in place), there is not that much space to play with.
This pic shows the location of the outer bearing

The outer bearing is the smaller one without internal seal. New bearing in place

Inner bearing has an internal seal and is flush fit

Inner and outer seals


sunnuntai 22. toukokuuta 2011
Parts porn
Pics...


Antiroll bars are from 1.4XSI and 1.6 Rallye. Both rallyes will get nice shiny valve cam covers. I'm going to have the S1 rallye steels also cowder coated at some point, to white color of course.


Antiroll bars are from 1.4XSI and 1.6 Rallye. Both rallyes will get nice shiny valve cam covers. I'm going to have the S1 rallye steels also cowder coated at some point, to white color of course.
keskiviikko 18. toukokuuta 2011
Parts are back!
It took ages, but the parts are finally back. Sandblasted and powder painted. They look fantastic, will be a joy to reassemble. Pics will follow...
torstai 24. maaliskuuta 2011


lauantai 19. maaliskuuta 2011
S2 update
S2 was weighted in Kehakatsastus:


324 + 292 + 165 + 156 = 937 (+- 10) kg. Minus driver weighting (appr 80kg) --> 857kg. Thats with all the seats etc in place.


324 + 292 + 165 + 156 = 937 (+- 10) kg. Minus driver weighting (appr 80kg) --> 857kg. Thats with all the seats etc in place.
sunnuntai 27. helmikuuta 2011
3rd time lucky
It's been a while... Haven't really done much on car lately. Had a nice 2 week winter holiday in the sun and all that. Good news is that I acquired a second spare axle. I disassembled it and it turned out to be in perfect condition. No more axle hunting then for gods sake!
The axle is from from '98 base model 106, which has had a crash damage. The right hand side wheel stub pin has been bent. I wasn't too concerned about it because it is the weakest link in the axle by some margin. I measured the axle from the mounting points to be sure, it turned to be perfectly square - no problem there either.
The center part will be cleaned and painted. The brakes from this latest axle are not usable, I have to select brakes from the other disassembled axles I have. I actually would like to put disc brakes as are in S2, but as I don't have them available I probably go with drums first.
Tilaa:
Kommentit (Atom)